WHY RELY ON PRESETS?
Presets are very useful to save time when editing photos. It may sometimes seem like cheating, but when you have massive amounts of pictures, as most of us do, or you are working on a tight schedule or in mobility, you will do anything to speed things up, while trying to create and keep your personal style throughout all your work, that will make your images unique and recognizable.
Adobe Lightroom is the most important tool with which you can use them because it allows you to edit groups of photos simultaneously, both on your computer and on your mobile phone. Adobe Photoshop also allows you to apply presets to have a working basis while editing on a totally different level.
You don’t need much editing experience to succeed, just learn to look and understand what you like, stick to it, and have fun in the process.
HOW TO INSTALL PRESETS
ON MOBILE
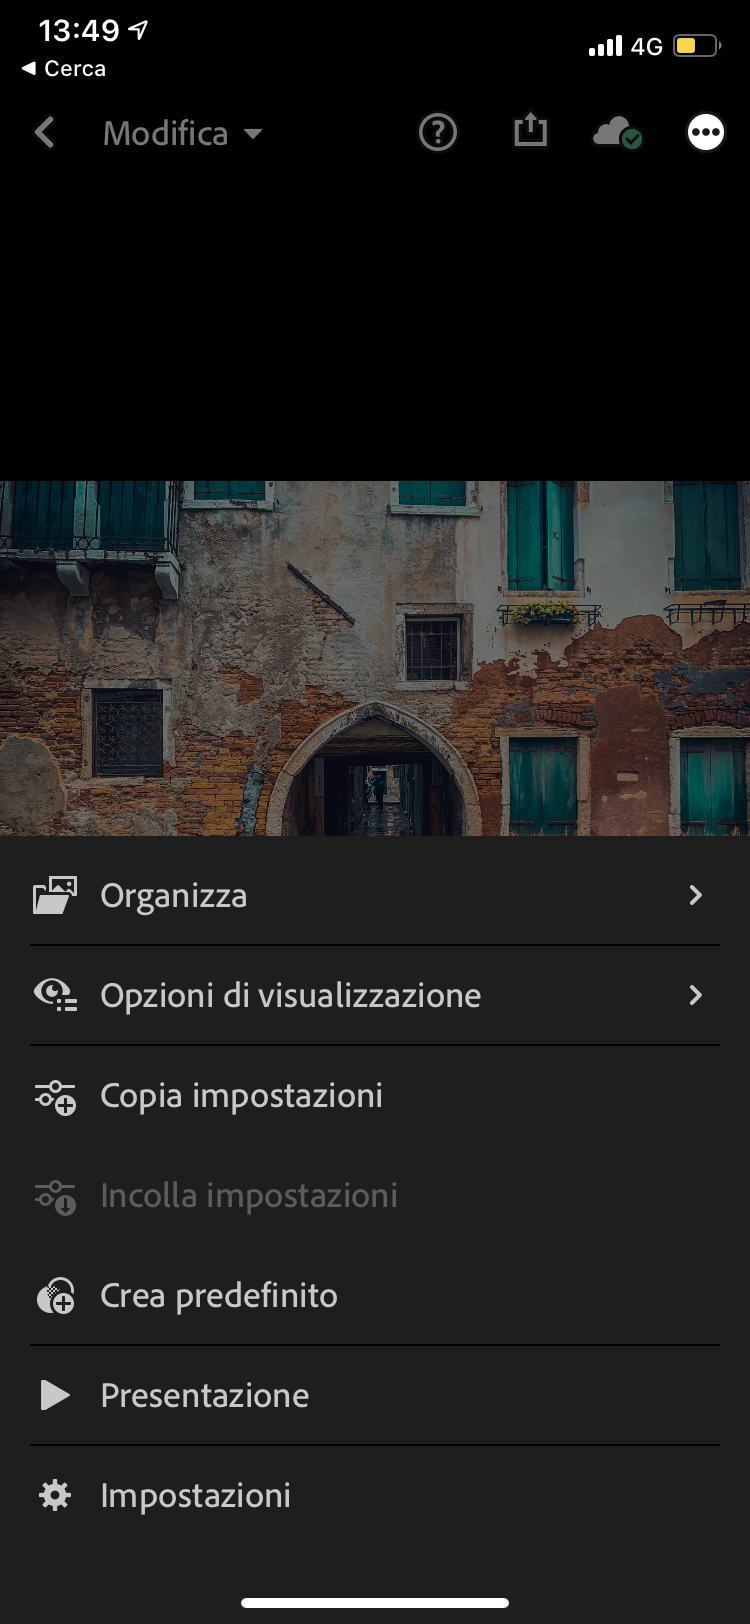
Install the ADOBE LIGHTROOM MOBILE app for iOS and Android, import a photo in DVG format, tap on the top right three dots button to create a new default to apply to your photos and you’re done.

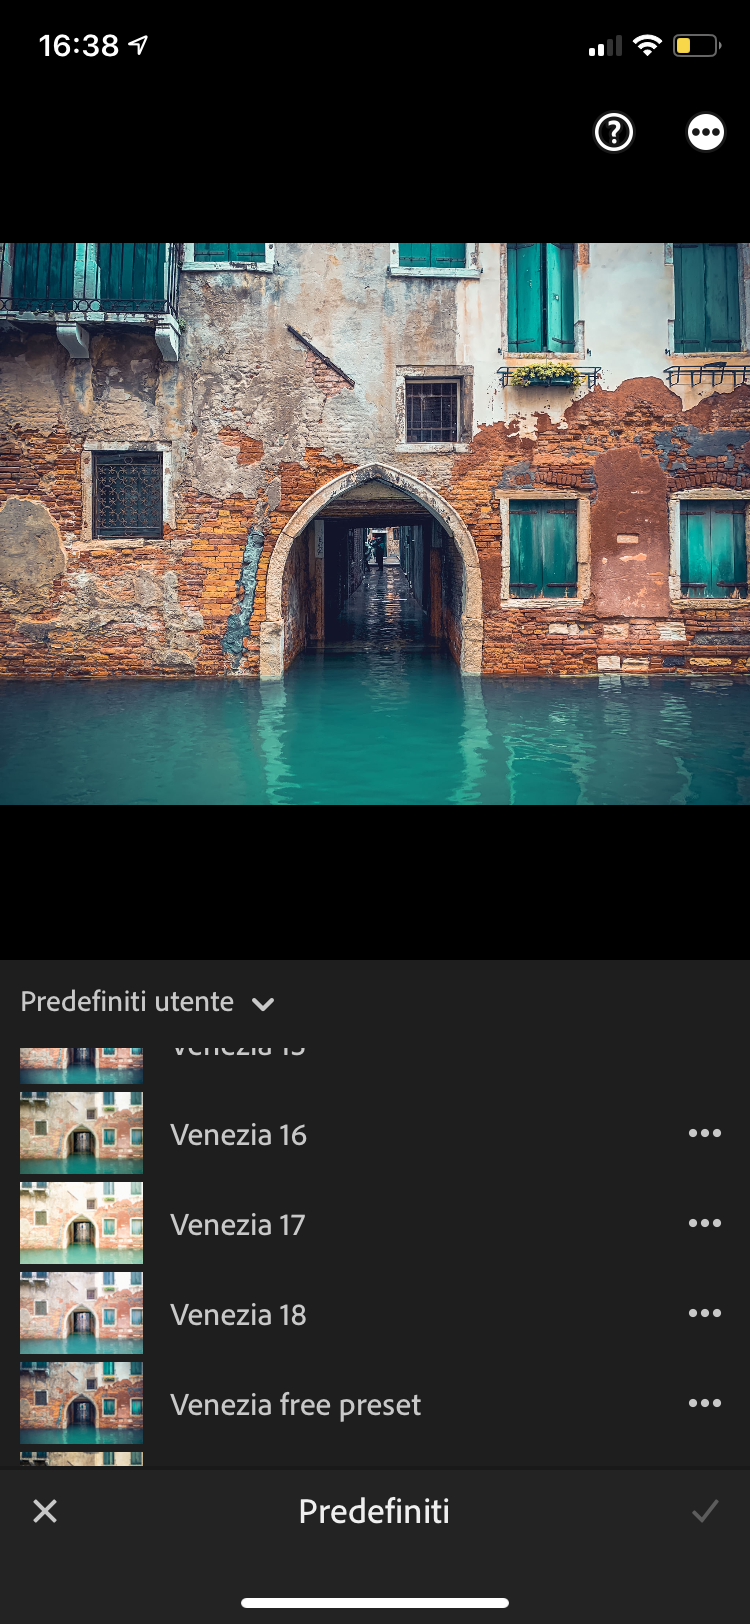
To apply the preset, go back to the Gallery by tapping the top left arrow, tap on your photo to open it, select Presetsfrom the menu in the lower part of the screen, choose your favorite preset by tapping on it, then tap on the checkmark to confirm. The preset is now applied correctly.
Finally, tap the Share button at the top to save the photo to an album or share it on social media.

ON YOUR COMPUTER USING LIGHTROOM
Install the latest version of Adobe Lightroom CC or Classic (any version will do for this particular job) from the ADOBE website, choosing the plan that suits you. There is also the web option, but it allows limited actions similar to mobile actions, with the same installation methods as the mobile app (check above).
Open the program. On the very first screen, Library, you can import your photos with the Import button at the bottom left screen.

Select the second screen at the top, Development, on the left under the Navigator part you will find the Presets. Click the + button and select Import Preset to find the preset that you saved in Downloads or any other folder. The preset will appear in the list of User Presets and will be ready to be used in XMP format. Simply click on it to apply it to your photo. You can also change the Basic or advanced settings on the right of the screen to fit your image.
Right-click and then Export to export the final version to the format you choose (JPG for the web, PNG for storage). You can also import it in Photoshop if you need to, by right-clicking on the thumbnail at the bottom of the screen and selecting Open in Photoshop.
ON YOUR COMPUTER USING PHOTOSHOP
Install the latest version of Adobe Photoshop CC, CS6, or 2020 (any version will do for this particular job) from the ADOBE website, choosing the plan that suits you. Open the program.
If your photos are in native camera format (not in JPG), open one in the program via File > Open, this will automatically load the native Camera Raw plug-in (see the image below, it should also have the name on top). If it doesn’t open, keep reading.
If your photos are in JPG format or the Camera Raw plug-in won’t open, go to Photoshop > Preferences > File Management > Camera Raw Preferences and at the bottom under JPEG and TIFF Management select from the dropdown menu Automatically open all supported JPEG files. In this way, the native Camera Raw plug-in will load automatically when opening each JPG image via File > Open. You can later deactivate this option by going back to the Camera Raw Preferences.
Open your image by visiting File > Open. You can also open a picture by double-clicking on the image file in its appropriate folder in the Finder (Mac) or File Explorer (Windows).
On the Camera Raw plug-in, which now automatically loads properly, click the penultimate icon on the right with the three bars and dots, Presets, then the three small horizontal lines, and Load Settings. Find the preset file in XMPformat in the Downloads folder or any folder you put your new presets, and press Enter.
The preset is now loaded and has been applied to the image, but is not yet saved as a favorite. To avoid having to reload it for each photo, click on the sheet icon at the bottom right next to the trash can. In the pop-up window that appears, assign a name to the preset (the same as the file or another one) and press OK. Now the preset will appear in the list and you can use it by simply clicking on it every time you open another photo.
Continue editing the parameters in the other tabs if you need to, or just click Save Image at the bottom left to save the changes, create a new image or overwrite the current image.
Once you have followed the instructions and finished the process, press Done at the bottom right to close the photo. If you need to make more massive changes, you can click on Open Image and it will be loaded into Photoshop where you can continue editing.
Don’t forget to save at the end of the process, by visiting File > Save to overwrite the current file, or File > Save as… to create a new image file of the format you choose (JPG for the web, PNG for storage and keeping transparencies, TIFF to keep layers and transparencies). You can also import it back into Lightroom if you need to.
CONCLUSIONS
Now that you have the basics, go ahead and make your pictures stand out! Grab more presets to help you in the process, but most of all, have fun!


